Learning to Brew: Equipment
26 September 2018
What is the basic equipment you need to start brewing?
Curious about my philosophy? Click for intro
Brewing can be as equipment intensive as you let it be. I got started for $200, but I also know homebrewers that have spent thousands (if not more) on their set up. The following is a rundown of the basic equipment you need to start brewing. Many homebrew companies sell kits to help you get started. If you are starting from scratch, that is a great way to get entry level equipment in one go. If you are more of a DIY person, or trying to start on a limited budget, then shopping around can help (watch the shipping prices though!)
Where to buy:
- When possible use your Local Home Brew Store (LHBS)
- Online retailers like More Beer and Adventures in Homebrewing
- Amazon
Kettle:
If you are doing very small batches (1 gallon kits exist!), you may already have a big enough pot/kettle for your beer. Same goes if you own a big enough stock pot. If you are buying for brewing, get a vessel that is slightly larger than you plan to brew with. You will want room for things to boil, bubble, and if you start brewing with grains, you will want the extra space.
I use a 5 gallon kettle for 2.5 gallon batches because 1) the 5 gallon mark is right up to the brim, 2) I now do all grain brewing, so that adds a lot of volume to the kettle, 3) I don’t like messes- the pot can bubble away with minimal chance of the hot sticky wort boiling over the edges and onto the stove.
Siphon:
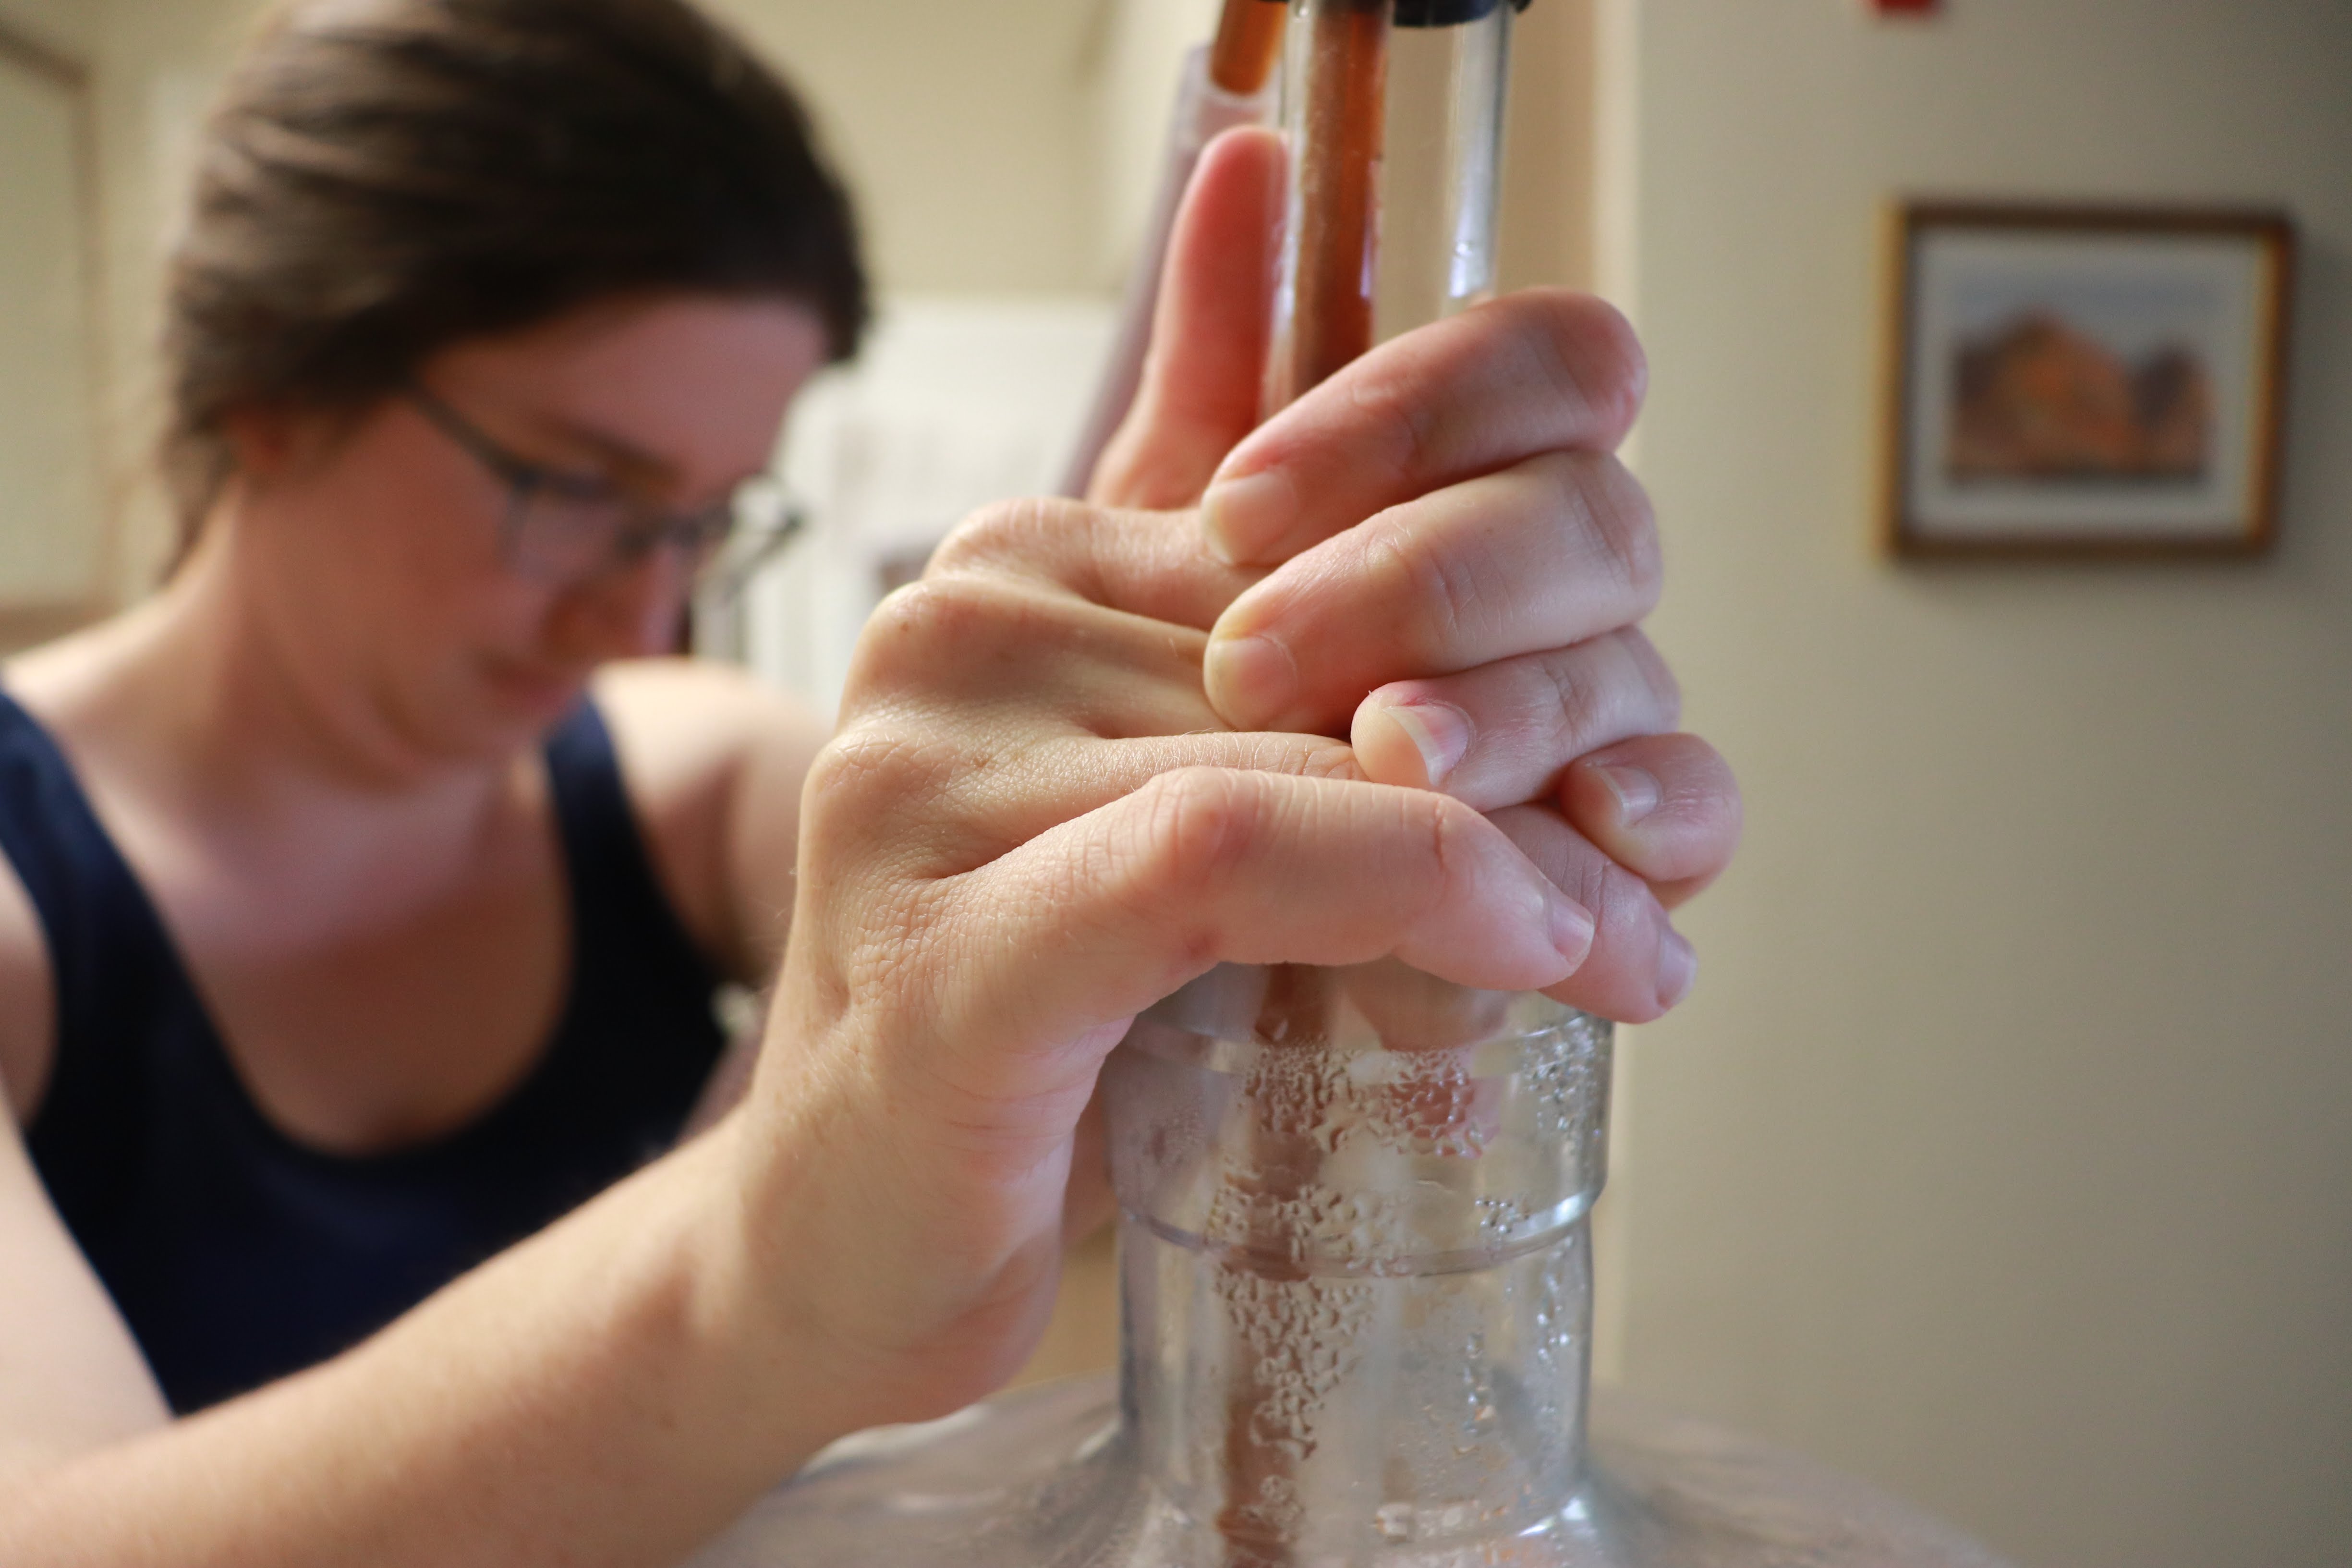
You will need a way to transfer without introducing oxygen (ie. You don’t want to just pour from one container to another). Syphons are the simplest way to do that. Cheaper siphons need to be started by suction (ie. Sucking on the end), this is a potential contamination risk. I use an auto siphon, you pump the racking cane once or twice and the beer starts flowing. Auto siphons generally cost $10-15.
Fermenter:
While the wort is fermenting (turning sugar into alcohol), it needs to be in an oxygen proof container that will also let C02 out. There are two kinds of fermenters: bucket and carboys.
Buckets are cheaper ($17), and you generally want one for holding sanitizer anyways. They are also easier to clean. Make sure it is food grade. While it may be possible to reuse food service containers, the risk probably isn’t worth it. Buy a new bucket when you start, it will be free of scratches (contamination risk) and any potential contamination. Plus side is that these are easy to clean, down side is that buckets are opaque and you can’t want things ferment.
Carboys are clear containers with a restricted opening. They can be made from glass, or plastic. Glass is easier to clean/sterilize. The down side is that it is heavy, and very, very breakable. Friends and the internet abound with stories of broken glassware and trips to the emergency room. Plastic is also cheaper and lighter. Its best to have a fermentation vessel that is a little larger than the volume you plan on brewing. When in doubt, get bigger. As your beverage ferments, its going to bubble and foam, creating krausen. Things can get messy if it bubbles out of the carboy. Technically too much extra space can increase chance of the wort spoiling. I’ve been fermenting 2.5 gallon batches in a 5 gallon plastic carboy with no negative results yet.
Recently I have purchased 3 gallon wide mouth fermentor. It feels like the best of both worlds: Easy to clean like a bucket, but restricted opening to minimize contamination!
 |
Airlock:
Remember when I mentioned the CO2 escaping the fermentor? That occurs through an airlock that has purified water(some people use vodka). As the yeast inside the fermentor produce C02, it bubbles through the airlock, but oxygen (and potential contaminates) can’t enter. There are a couple different types. I break the S-bend style, and lose parts to the 3-part airlocks at the time, so I just keep buying whatever is handy.
Sanitizer:
Making beer is mostly cleaning. You are trying to prevent any nasty things from getting into and reproducing in your wort. The first step is cleaning your equipment, this removes large gunk and contaminates. Sanitizing is killing the majority of bacteria on a clean surface. I am a 100% convert to Star-San. While expensive up front, you dilute it in a lot of water, and it lasts a long time. It is a no rinse sanitizer. Dunk whatever you need sanitized in, wait a minute, and it is good to go. I also use a spray bottle of diluted StarSan to sanitize stuff on the fly. Generally, I mix up 2.5 gallon of diluted StarSan in a big bucket at the start of brewing. If you make your mixture with purified or reverse osmosis (RO) water, it can be store for later use.
StarSan is an acid. Be careful with it. While a little bit can get into beer, don’t accidentally drink any because you had a mug full on the counter to santize small things. (Note: I haven’t done this but I have come close)
Little things:
Hops Socks: These cotton or nylon bags hold your hops. Its easy to wash and reuse these (especially the nylon ones) several times
Bottles & caps: I’ll cover more about this in a later post, but you may want to start saving non-screw top bottles.
Thermometer: I started with a basic candy thermometer with a dial, but effective electric thermometers are not expensive.
Scale: if you are using kits, you can probably put off getting one. I use a generic kitchen food scale for measuring hops, grain, malt extract etc.
Now that you have (or are waiting for a delivery), consider what kind of recipe you want to brew :)