Learning to Brew: First Brewday
15 December 2018
How do you get from a pile a equipment and ingredients to beer? A lot of cleaning and waiting to be honest…..
Curious about my philosophy? CLICK HERE
Want to know about equipment? CLICK HERE
Interested in ingredients? CLICK HERE
Overview Advice
- Give yourself plenty of time for your first brew, I’d estimate 6-8 hours depending on batch size. I can get it lower, but only once I knew what I was doing. There is nothing that ruins the fun of a brew day like feeling rushed or stressed.
- Instructions are assuming you are brewing an extract recipe for your first time. assuming an extract recipe for your first time- feel free to jump to all grain
- Kits may have excellent instructions. If the instructions in your kit differ from mine, follow them. They are set up better for your specific ingredients.
- RDWHAHB- Relax, don’t worry, have a home brew!
The Day Before
- Make sure you have all your equipment ready
- Make or get ice. You can do this day of, I just tend to forget. Small batch brewing means less volume to cool- 2 pounds is usually good to cool 2.5 gallons.
- Triple check your instructions. Write out the major steps, time checks and if you need to measure anything. Having a clear plan will make the day more fun.
The Morning Of
- Clean kitchen. Brewing is cleaning and waiting….sorry. Generally you want as much counter space as you can manage, and for the counters, sink, stove top and floor to be free as clutter and crumb free as you can manage. This will help with sanitization, and when something inevitably spills
- if you are using liquid yeast, take it out of the fridge so it can reach room temperature
- Get all your brewing stuff in one place, make sure its unpackaged and give it a rinse if needed. Not running around looking for things is key!
Heating the water
- If you are using an electric stove and you are doing a full 5 gallon batch, this could take a while. I have a cheap stove in a rental and I can get about 2 gallons of water to 170 in 15ish minutes
- Steep grains. Some instruction call for adding speciality grains while heating, others want you to hold temperature for a certain length of time. Either way, you may have crushed grains you put in a hop sock that you steep for 30ish minutes.
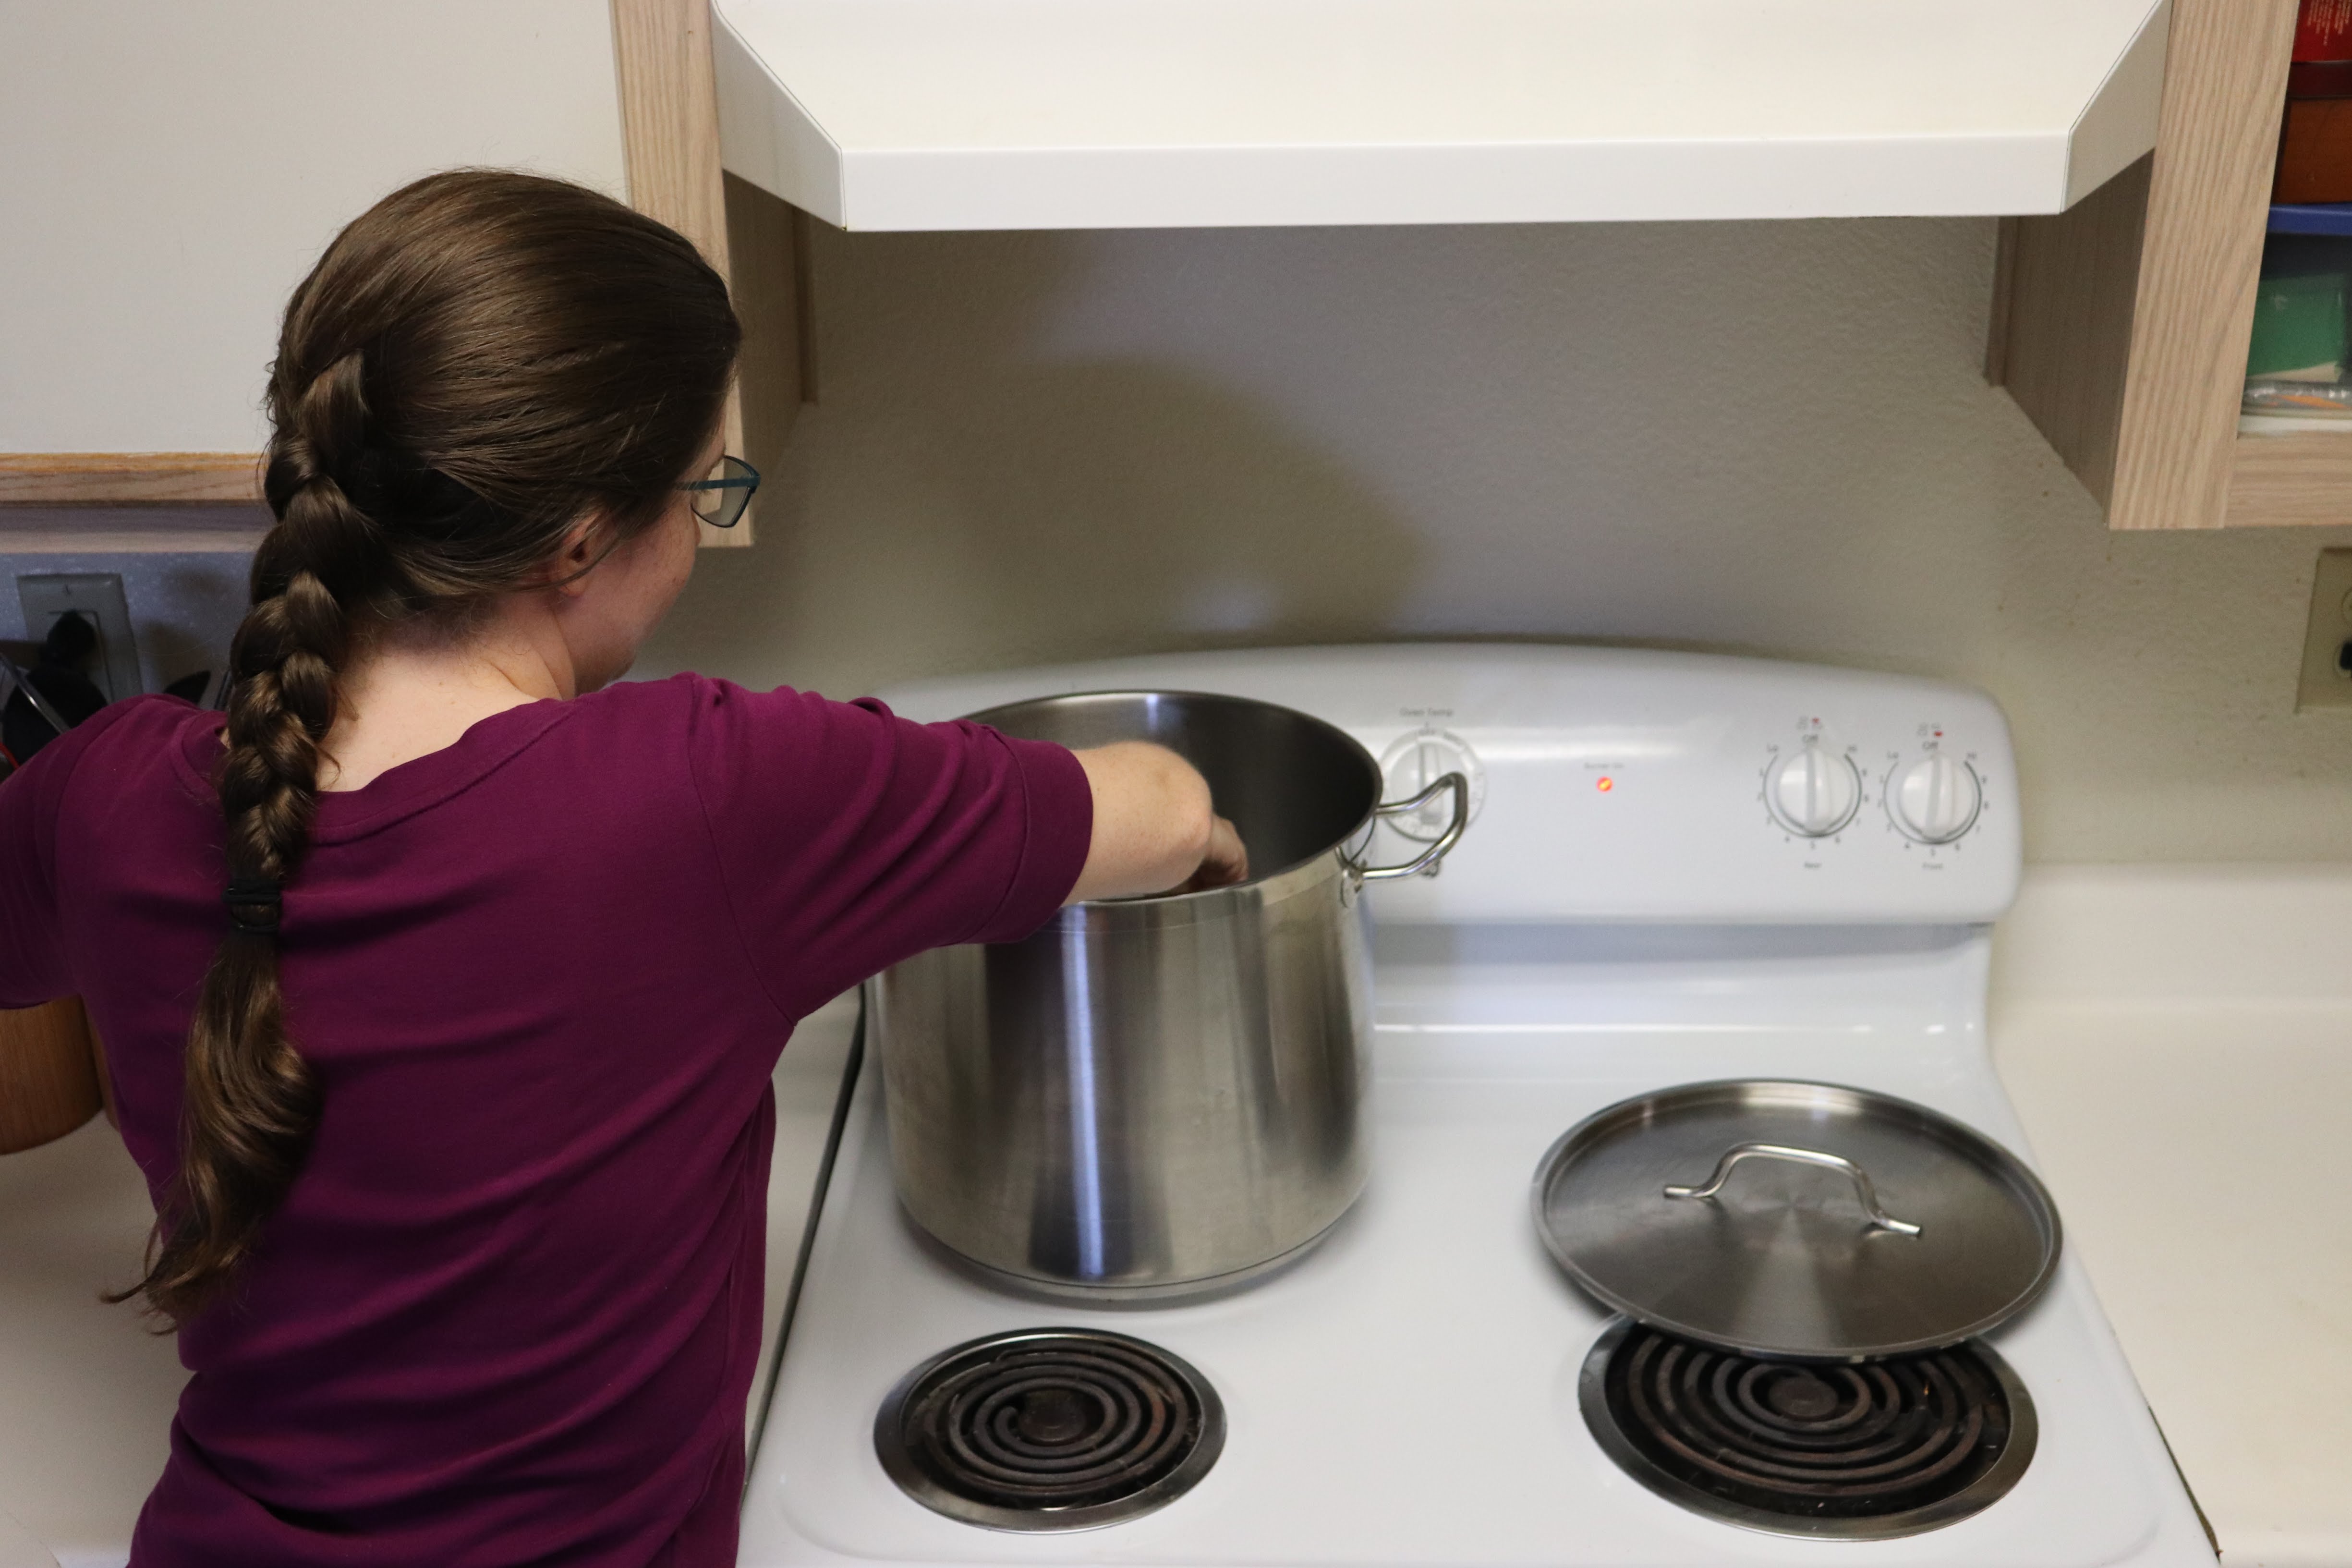
Adding the malt
- I am assuming you are doing ‘extract’ brewing for your first brew. In brewing, extract means the sugar has already been extracted from the grains and is ready to brew DME- Dried Malt Extract: malt is a dried, powdered form LME: Liquid Malt Extract: malt is a thick, syrup liquid
- Turn off heat when adding extract. This minimizing the scorching as the sugar rich extract hits the bottom of the pan.
- Once everything is mixed, bring pot to boil. Its ok to use the lid when bringing to a boil!
 |
Boil
- When the wort comes to a boil, it will hot break. Watch closely for this! Foam will rise to the surface. If you are not careful, this is your mostly likely boil over. Turn down the heat so this doesn’t happen
- A boil over is what it sounds like. The wort boils over the top of your pot/kettle. Wort is sticky, this will make a mess. Avoid it!
- “An unwatched pot will boil over” MAKE INFOGRAPHIC
- Once you are at a boil, remove or crack the lid, this achieves 2 things: 1) Decreases chance of boil over; 2) allows sulfurous compounds to boil off
- Add hops in hop bag, clogged siphons suck (or don’t suck as the case may be). Remember- many recipes list hop additions as minutes left on boil.
Cooling
- Once your beer is off the heat SANITATION IS KEY. This mean anything that touches the beer should be soaked in StanSan (or some other no rinse sanitizer) first. This is the point at which your beer is most likely to be contaminated- too cool for sterilization, and no beer yeast to out compete the bad bugs.
- The most low-tech way to cool wort quickly is to put it in an ice bath in the sink. If your sink does not fit the kettle, then a bathtub may work.
- For quicker cooling, stir your wort (gently, with a sanitized spoon) and cooling water. The first sink full of water is likely to be very hot!
- Switch your ‘cooling’ water when it gets warm. I usually do two sinkfuls of just cold tap water before 1-2 sinkfuls of ice water
- I’m not sure if I mentioned enough- SANITATION IS KEY. Once the wort is below 160 degrees, any microbes would love to live and reproduce in there. Everything that touches your cooling wort, and all the time it is sitting exposed is a contamination risk. One of the reasons to cool quickly it to minimize the time it is exposed
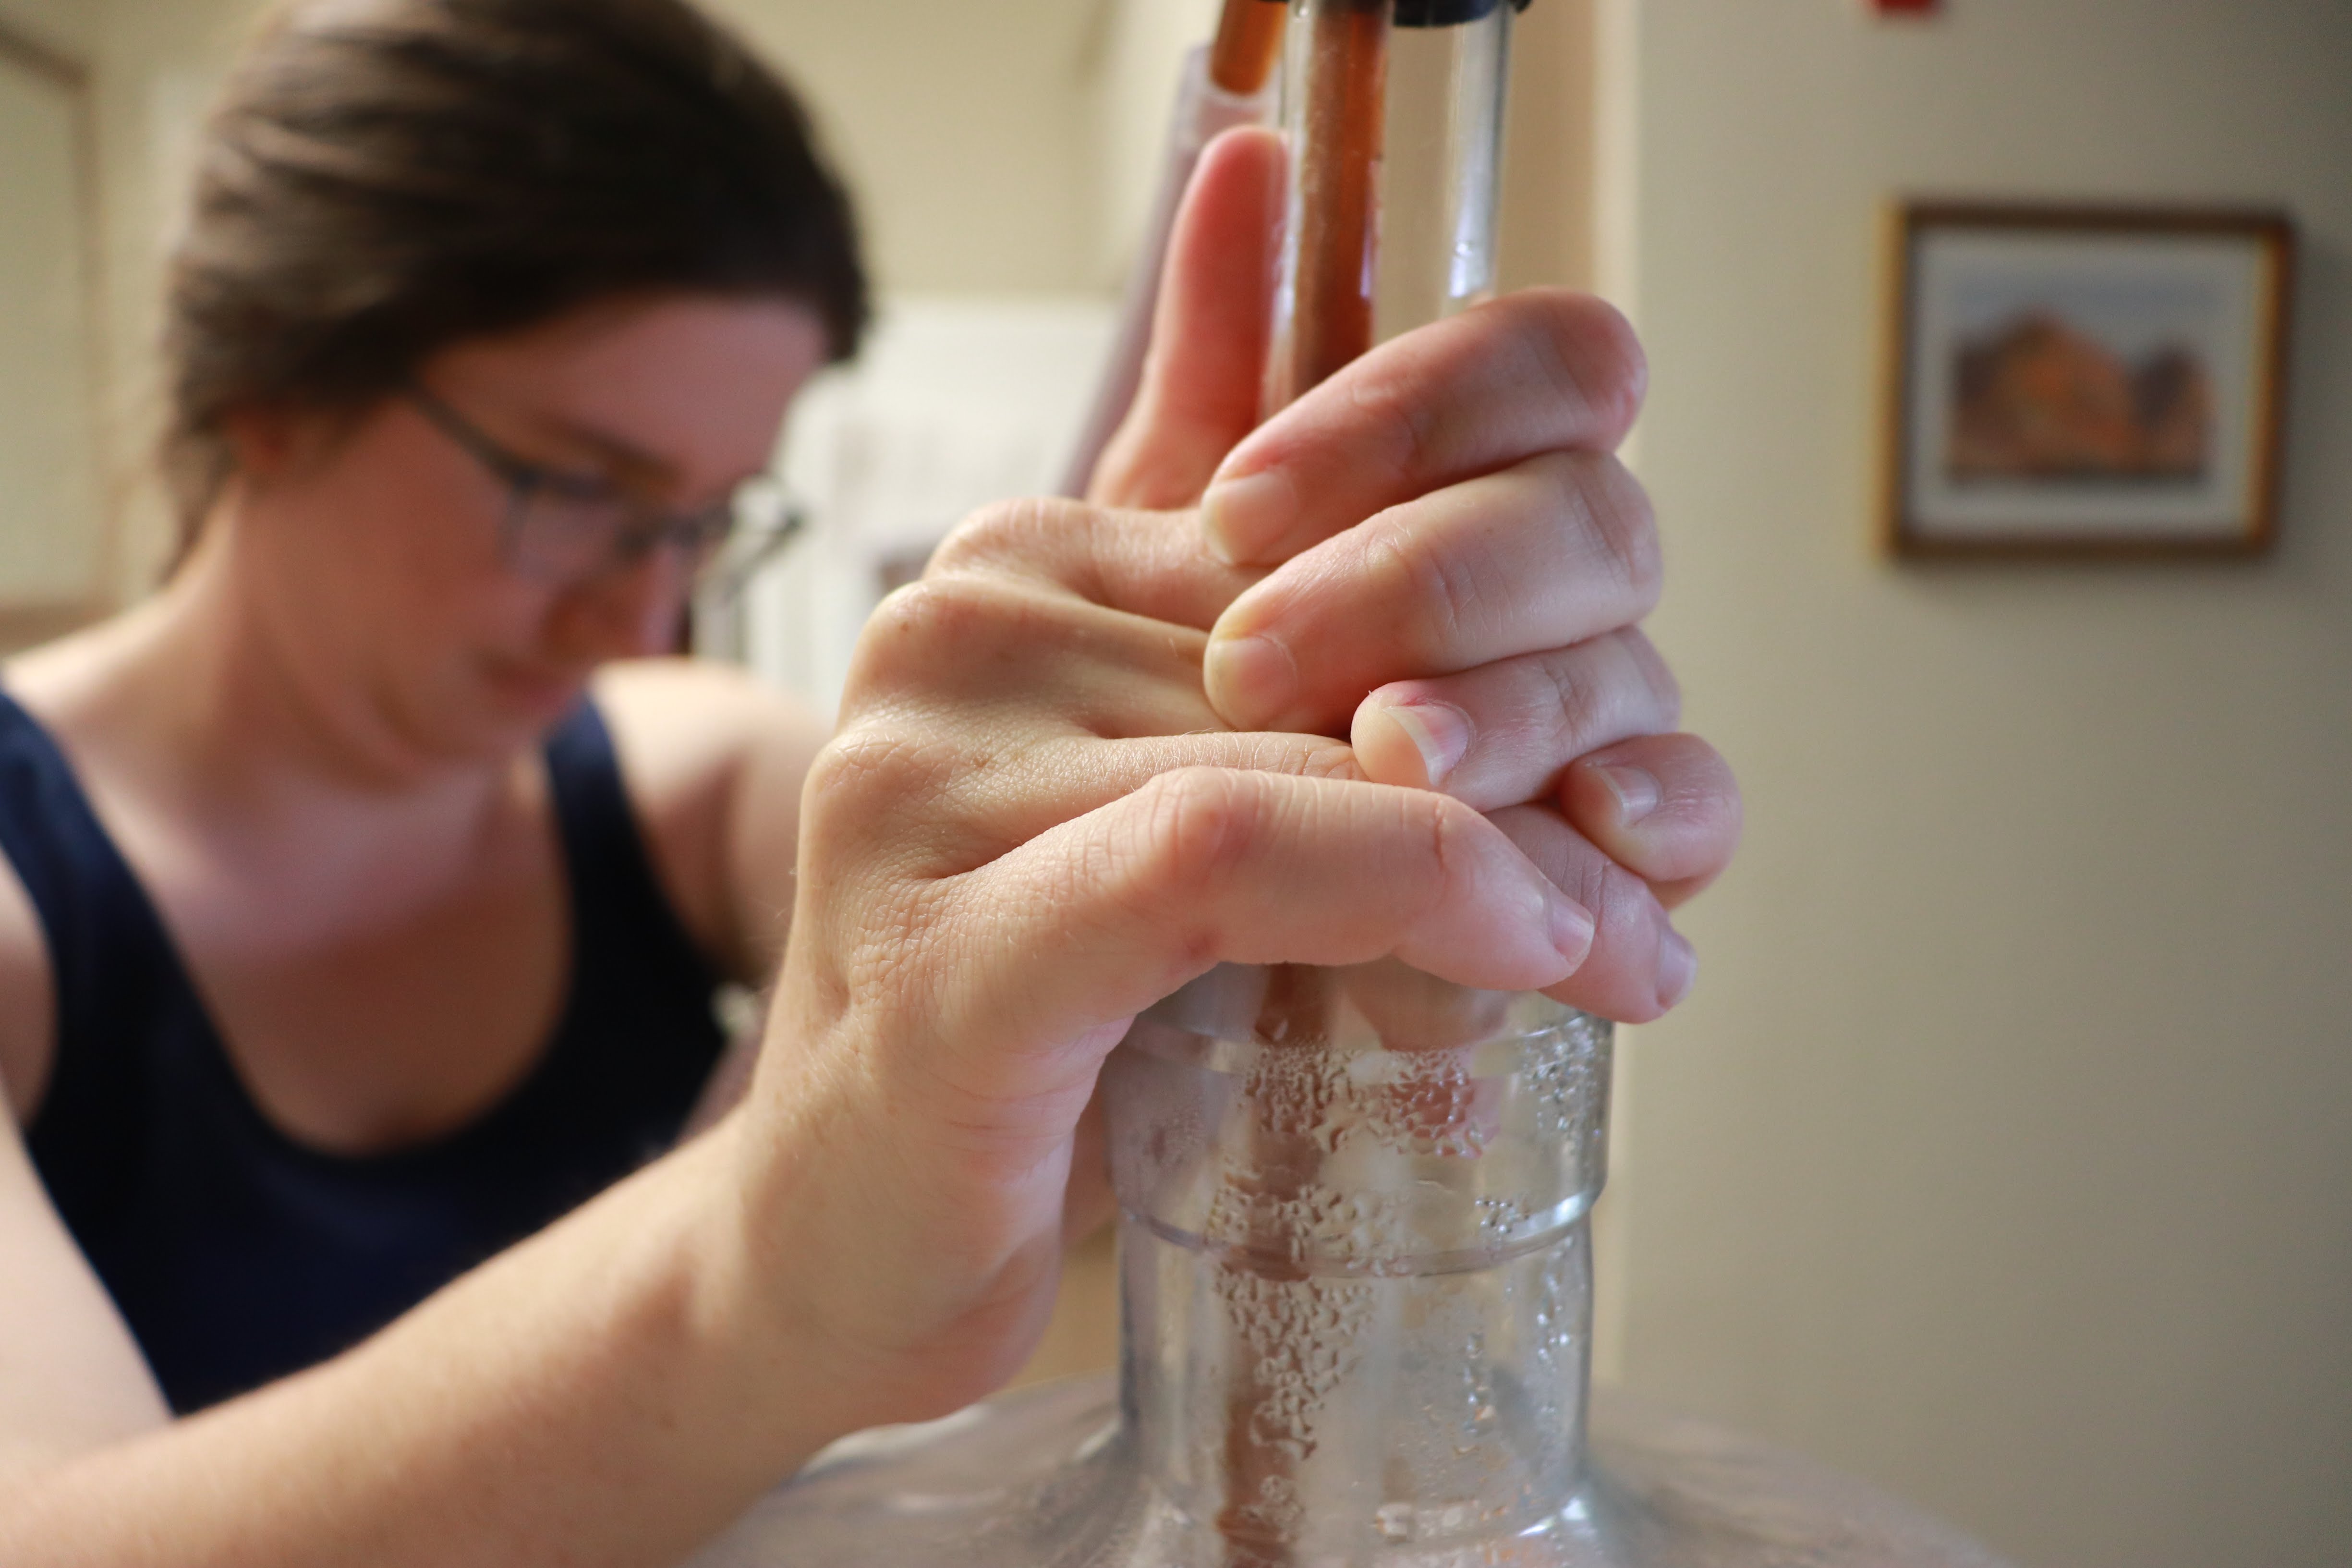
Transfer and Waiting
- Once your wort is below 75 degrees transfer it to your fermentation vessel
- Add your yeast (making sure to sanitize the yeast packet, and scissors you use to cut it open)
- If you have the ability, aerate the wort for maximum yeast health
- Close up your fermentation vessel, and set up your airlock (that you sanitized). I usually fill the chamber of my airlock with Starsan water, some people use vodka)
- Put fermentation vessel in a cool dark place- I use my closet
 |
Cleaning
- Think you were done with the cleaning now that your wort is safely away? Hahaha, no.
- Clean your gear now, wipe up the inevitable spills etc. Things are only going to harden on, get that now!